Go There in a Flash in Excel
You inherited the biggest spreadsheet on the planet and have to scroll and troll to ranges miles away from your current screen! Don’t despair, Excel has several tools to get you there quickly…
The Go To Dialog Box
You can jump to any area of your worksheet with this handy command. Using the Ribbon, Home tab, Editing group, Find & Select drop down arrow, and select Go To… Just type in a cell reference, click OK or press ENTER, and you are there!
OK, that might beat scrolling but not by much, so here’s the corresponding shortcut:
Press CTRL G or F5 function key to auto display the Go To Dialog Box and it is ready for your entry. It also remembers your previous cell location(s).
The Name Box
Want the quick mouse navigation trick? The Name Box is your ticket! Just click in the box and type the cell reference (such as T44456); press ENTER and you are there. (Unfortunately, there is no keyboard shortcut for the actual Name Box but you could use F5 to display the Go To box, type the cell reference and press ENTER).

Range Names
The amazing Name Box is multi-talented. We saw we can highlight large ranges of cells and also jump to a faraway cell location just by typing the cell reference(s) in the Name Box. But what if you are short on sleep and can’t remember the cell reference(s)? No problem. There is a reason it is called the “Name Box”. All you have to do is find that cell once, select it and give it a name that makes sense to you, like Sales or Profit, etc.
Steps:
- Navigate to desired location
- Click on desired cell (or range of cells)
- Click in the Name Box and type a name, i.e., Sales
- Press ENTER
To return to that location any time, just click the drop-down arrow on the Name Box and select the name you gave it, and you are magically transported there!
Important things to know when naming a cell:
- Range Names must start with a letter but can contain numbers.
- You can use more than one word to name a range but it cannot contain spaces.
- Capitalize the separate words, like TotalSales, or the underscore can be used to represent the space, i.e., Total_Sales.
Range Names are ABSOLUTE by default, meaning the name will always refer to the cell even if the content is moved. And, even more impressive, Range Names can also be used in formulas instead of cell references. That Excel is one smart cookie!

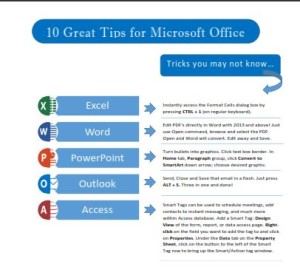
 Click to download great tips to speed up your Office projects.